How to Find Wall Studs: The Master Stud Finder Guide
Finding a wall stud is the most critical first step before hanging heavy televisions, floating shelves, mirrors, or kitchen cabinets. Missing the 1.5-inch stud face can crack drywall, drop heavy fixtures, or puncture plumbing pipes and live electrical wiring. If you are building a new wall, verify stud layouts with our wall stud spacing calculator.
Quick Key Takeaways
- ✓1.5" Target: Studs are 1.5" wide; center target is exactly 3/4" from either marked edge.
- ✓Never Calibrate on Studs: Always hold against hollow drywall before pressing calibrate.
- ✓Plaster Walls: Use rare-earth neodymium magnetic finders; capacitive scanners fail on lath.
- ✓Wire Safety: Scan vertically; studs run floor-to-ceiling, while wires and pipes run across.
Interactive Stud Finder Simulator: See Through the Drywall
Move the scanner tool across the wall below to experience how electronic dielectric sensors detect changes in wall density and alert you to the true 1.5-inch stud center.
1. The 3 Types of Stud Finders (And How They Work)
Not all stud finders operate the same way. Choosing the right tool depends on your wall type and budget:
Type A: Neodymium Magnetic Stud Finders
$8 – $15How it works: Does not contain batteries. Uses ultra-strong rare-earth magnets to detect steel drywall screws and nails driven into the stud face. Learn more in our wall stud finder guide.
Pros: Zero false positives, never needs batteries, highly effective on lath and plaster walls.
Cons: Only detects screws, not the stud wood itself. Requires scanning vertically to find fasteners.
Type B: Electronic Capacitive & Multi-Sensor (Edge & Center)
$20 – $60How it works: Emits an electrostatic field into the wall. Measures changes in dielectric density between empty cavities and solid 1.5" lumber. Explore top models in our Franklin Sensors review and Zircon stud finder guide.
Pros: Fast continuous scanning, pinpoints both edges and center, includes live AC wire alerts.
Cons: Vulnerable to false positives if calibrated over a stud; struggles through uneven plaster.
Type C: Ultra-Wideband Radar / Visual Wall Scanners
$100 – $350How it works: Emits radar pulses or multi-sensor imaging (like the Walabot DIY 2 or Milwaukee Sub-Scanner M12) to detect depth, wood studs, metal studs, copper plumbing, PVC pipes, and wiring simultaneously.
Pros: Sees through tile, plaster, and double drywall up to 4 inches deep.
Cons: Premium pricing; requires smartphone pairing on some consumer models.
2. Step-by-Step Calibration & Scanning Procedure
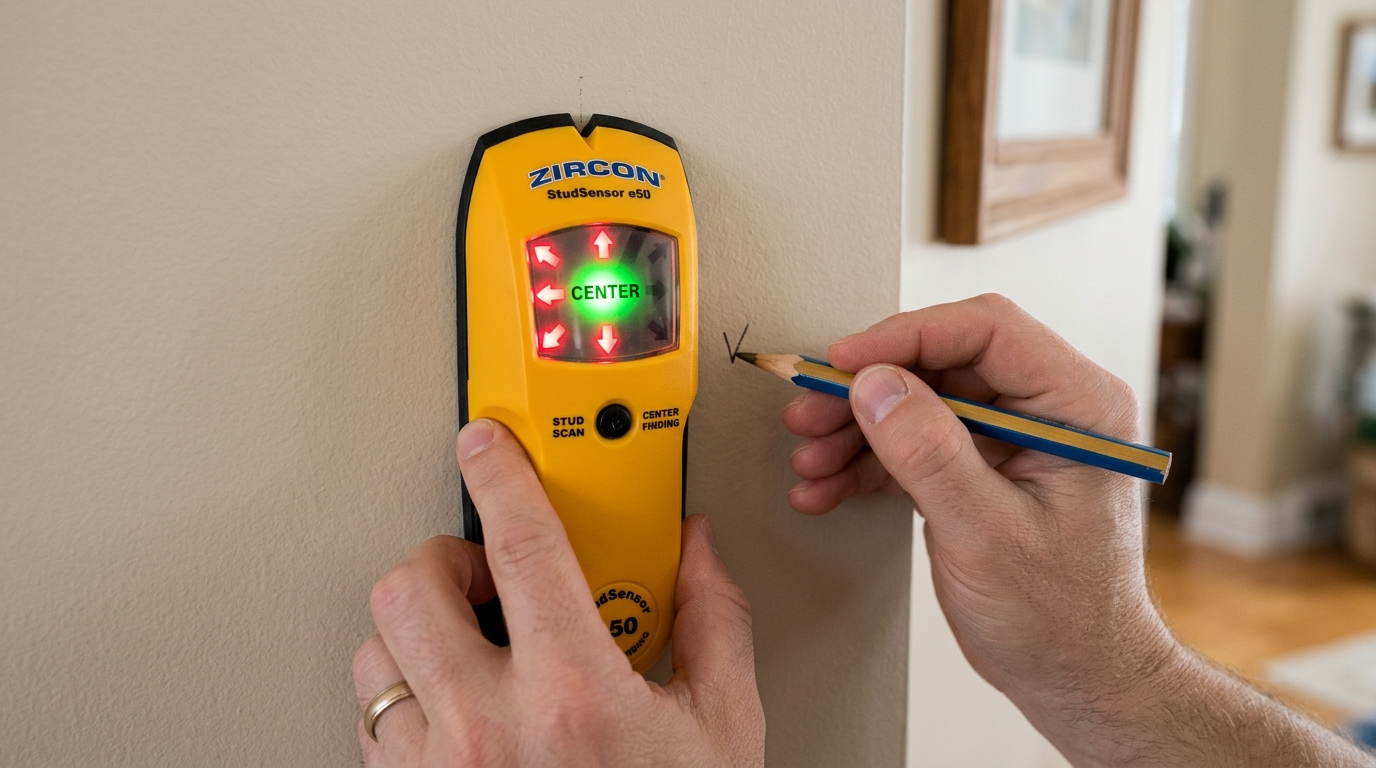
Press the stud finder flat against the wall and hold the power button down until the unit beeps. Never calibrate directly over a stud! If the scanner immediately beeps an error, move it 6 inches to the left or right and calibrate again.
Keep the tool flat against the surface and slide it slowly (about 1 to 2 inches per second) in a straight horizontal line. Do not lift, tilt, or rock the sensor, which resets the dielectric baseline.
When the indicator lights peak, mark the first edge (Edge A) with a pencil. Then reverse direction, start from the opposite side, and slide back toward the stud to mark Edge B.
Measure the distance between your two pencil marks. In standard framing, it should measure exactly 1.5 inches. The true structural center is precisely 3/4 inch (0.75") from either line. Drill your pilot hole only on this center point.
3. 5 Proven Ways to Find Studs WITHOUT a Stud Finder
If you are on a jobsite without a tool or your batteries died, use these 5 carpenter tricks:
1. Electrical Outlet Proximity
Electrical boxes are nailed directly to stud flanks. Look closely or tap adjacent to the outlet to find which side the stud is on, then measure in 16" intervals.
2. The Knuckle Knock Test
Tap horizontally along the wall. Between studs, the hollow cavity produces a loud drum-like resonance. When hitting a 1.5" stud, the sound immediately switches to a dull thud.
3. Baseboard Trim Nails
Carpenters nail baseboard molding into studs. Inspect the top or face of the baseboard for filled finish-nail holes; studs sit directly vertical from these nail marks.
4. Strong Refrigerator Magnet
Tie dental floss around a strong rare-earth or neodymium magnet and dangle it against the wall while sliding horizontally. It will snap firmly onto hidden drywall screws.
Avoiding Electrical Wires & Plumbing Pipes
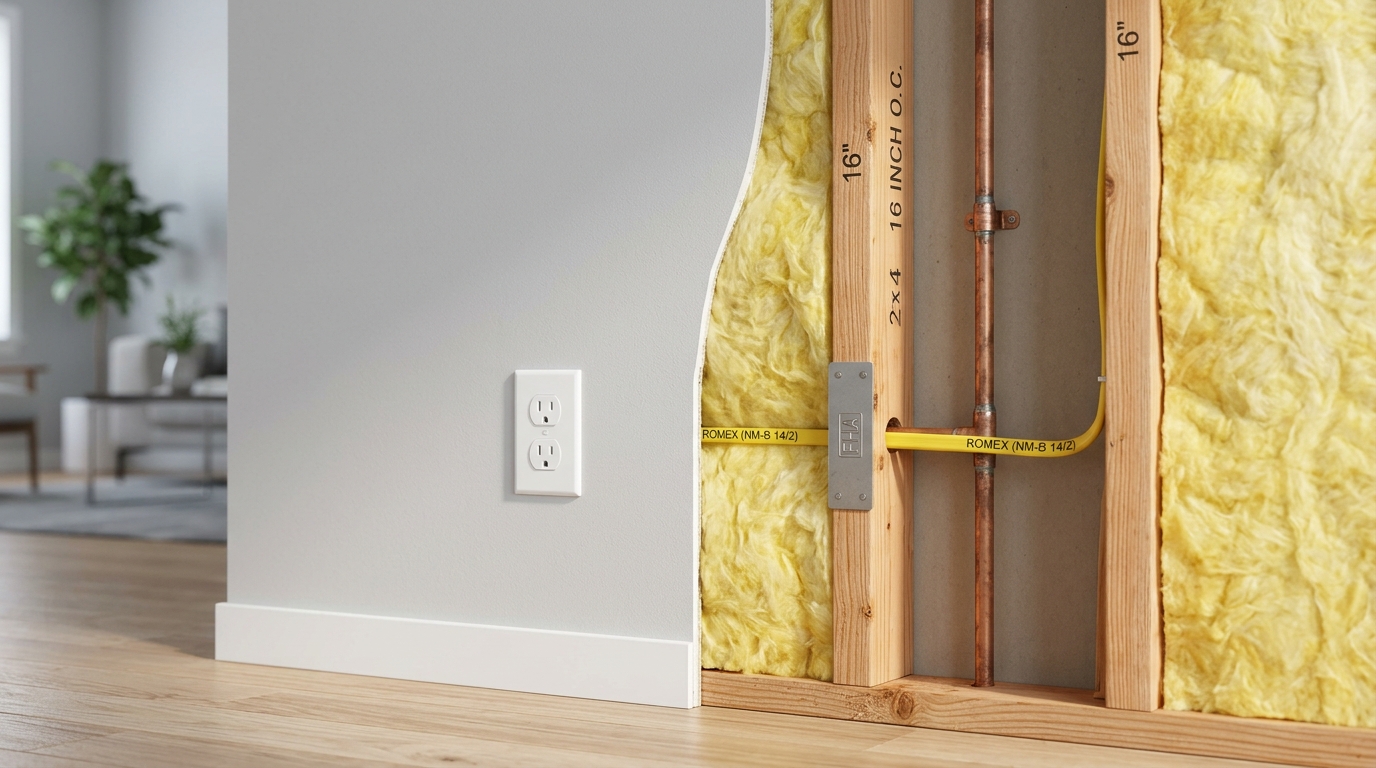
Behind finished drywall lies high-voltage electrical wiring (120V/240V NM-B Romex) and pressurized water pipes. Follow these critical safety rules:
- The 1-1/4" Setback Rule (NEC 300.4): National Electrical Code requires wires and pipes passing through studs to be set back at least 1-1/4" from the stud face, or protected by a 1/16" steel nail plate. If your drill encounters sudden metal resistance, stop immediately!
- Screw Length Limit: When mounting into 1/2" drywall, use screws that penetrate into the wood stud no more than 1.5 inches to avoid hitting wiring.
- Turn Off Breakers: When drilling into walls directly above or below switches and outlets, shut off power at the main electrical breaker panel first!
Mounting Heavy Hardware into Studs: TV, Shelves & Cabinets
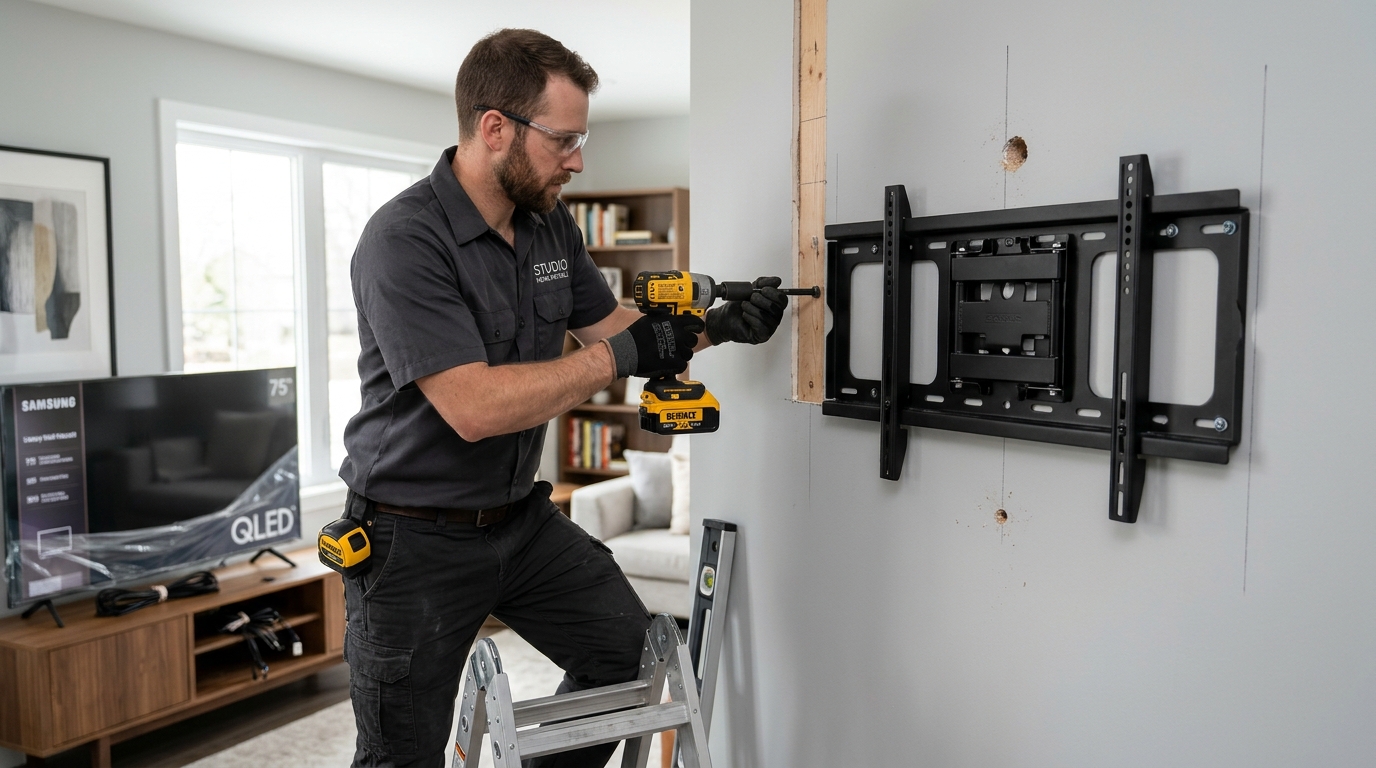
Why stud finding is non-negotiable for heavy fixtures:
Frequently Asked Questions
Quick, authoritative answers to common wood framing, building code, and stud spacing questions.