Stud Finder Reviews, Sensor Physics & Wall Scanner Guide
Finding the exact 1.5-inch width and 3/4-inch structural center of wall studs is critical before driving heavy lag bolts for televisions, floating shelves, mirrors, or cabinetry. Explore lab-tested tool reviews, sensor physics, interactive wall scanner simulations, smart tool selectors, and diagnostic fixes for false readings.
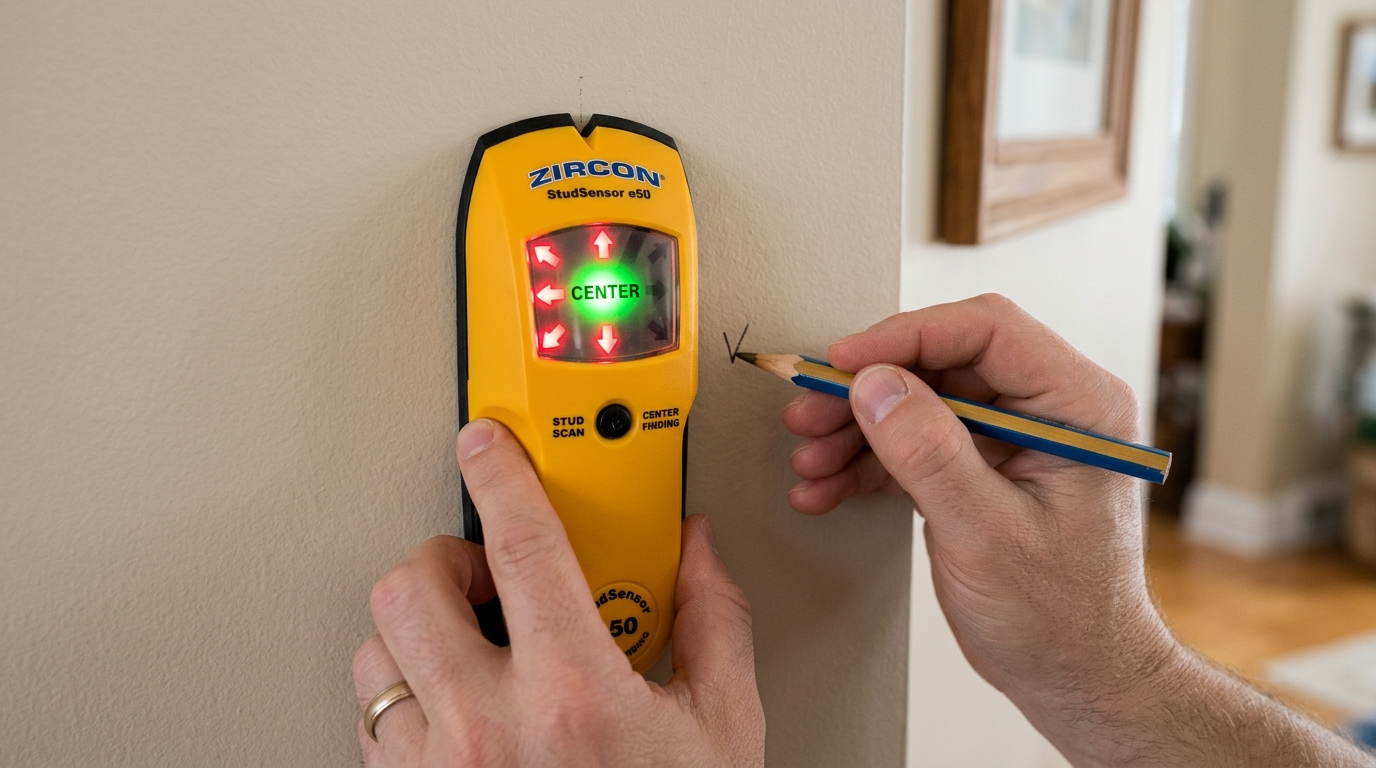
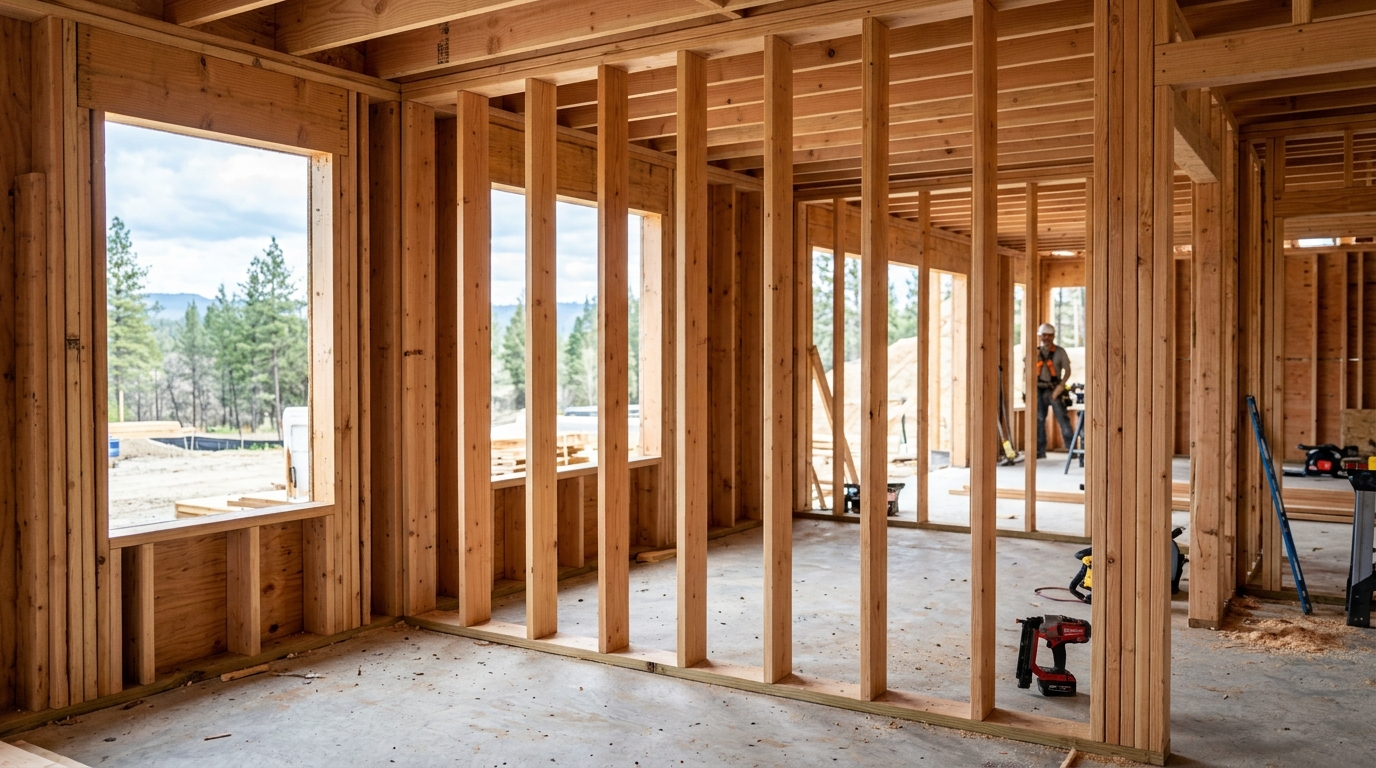
Standard 2x4 & 2x6 framing lumber face. Must find both outer edges or illuminated center.
Exact 3/4" centerline. Lag bolts must hit this zone to prevent wood grain splitting.
NEC 300.4 code minimum borehole setback before a 1/16" steel nail shield plate is mandated.
Electromagnetic frequency emitted by energized household 120V/240V Romex cables.
Live Wall Scanner Simulator: See Through Drywall
Slide the virtual detector across a 32-inch wall section. Test capacitive dielectric sensors, 3D RF radar, magnetic nail detection, and live 120V AC wire avoidance before drilling into your own walls.
The scanner is over open wall insulation cavity with minimal dielectric permittivity. Safe to calibrate here. Slide slowly left or right toward 8.0" to encounter the first 2x4 framing stud.
Smart Stud Finder Selector: Find Your Ideal Tool
Select your wall substrate, mounting project, and budget to receive an engineering recommendation on the ideal sensor technology, depth rating, and model.
Franklin Sensors ProSensor 710+
13-Sensor Capacitive Multi-Sense Array
Why this tool fits: Uses 13 simultaneous capacitive sensors to illuminate the entire 1.5" width instantly with zero calibration required. Perfect for pinpointing the exact 3/4" center for lag bolts.
💡 Jobsite Tip: Press and hold the button against drywall. Scan from left to right; when multiple green LEDs ignite, drive your lag bolt into the dead center illuminated light.
TV Mount & Shelf Stud Alignment Calculator
Verify how many wall studs your TV bracket, floating shelf, or heavy mirror will capture. Calculate lag bolt placements and safe drilling margins relative to the room corner.
Drive 5/16" x 2-1/2" hex lag bolts into the 3/4" center of both captured studs. Drill a 3/16" pilot hole 2 inches deep to avoid splitting the wood grain.
2026 Stud Finder Comparison Matrix
| Tool / Model | Sensor Tech | Max Depth | Wire Alert | Best Substrate | Primary Application | Guide Link |
|---|---|---|---|---|---|---|
| Franklin ProSensor 710+#1 Best Overall | 13-Sensor Multi-Sense | 1.6 inches | — | 1/2" & 5/8" Drywall | Zero-Calibration Drywall Scanning | Review → |
| Zircon MultiScanner A250Best Electrical Safety | Capacitive + AC Antenna | 1.5 inches | Continuous AC | Drywall & Thin Panel | CenterVision Target & Wire Safety | Review → |
| Walabot DIY 2Best 3D Radar Scanner | 3D RF Radar + Phone | 4.0 inches | Live Wires + Metal | Drywall & Lath | Pipes, Wires & Deep Remodeling | Review → |
| DeWalt DW0150Best Jobsite Durability | Center Dielectric | 1.5 inches | Live AC Alert | Drywall & Plywood | Contractors & Pencil Marking Hole | Review → |
| Milwaukee M12 Sub-ScannerCommercial Grade | Multi-Frequency Radar | 3.0 inches | AC & Metal Rebar | Tile, Concrete & Drywall | Commercial & Bathroom Tile | Review → |
| C.H. Hanson 03040 MagneticBest Budget & Plaster | Dual Rare-Earth Neodymium | Screw Pull (1.0") | — | Plaster & Drywall | No Batteries, Never Fails on Lath | Ranking → |
| Bosch GMS120 ProfessionalPrecision Multi-Mode | Multi-Mode Inductive/Capacitive | 4.75" Metal / 1.5" Wood | Continuous AC | Drywall, Masonry, Metal | Illuminated Ring & Center Hole | Ranking → |
Stud Finder Diagnostics: Solve False Readings & Errors
Select the symptom your stud finder is experiencing below to see the exact electrical/substrate root cause and the verified 4-step jobsite fix.
Continuous Beeping or Solid Red Calibration Error
You pressed the calibration power button while the sensor was sitting directly over a dense wood stud, copper water pipe, or metal electrical conduit. This causes the internal microprocessor to set a high dielectric density as its baseline, triggering an immediate error when moved over hollow drywall.
- Lift the stud finder completely off the wall to reset the capacitor.
- Move the tool 6 to 8 inches horizontally to an empty hollow cavity bay.
- Place the base pads completely flat against the drywall and press the calibration button.
- Wait for the confirmation beep (1–2 seconds) before beginning your slow horizontal slide.
Stud Finder Guides & Brand Deep Dives
Best Stud Finders of 2026: Tested Rankings
In-depth testing across drywall, plaster, and live wires. Top picks for DIYers, contractors, and budget buyers.
How to Use a Stud Finder: Calibration Guide
Step-by-step calibration protocols, marking the 3/4" center, detecting edges, and avoiding false positives.
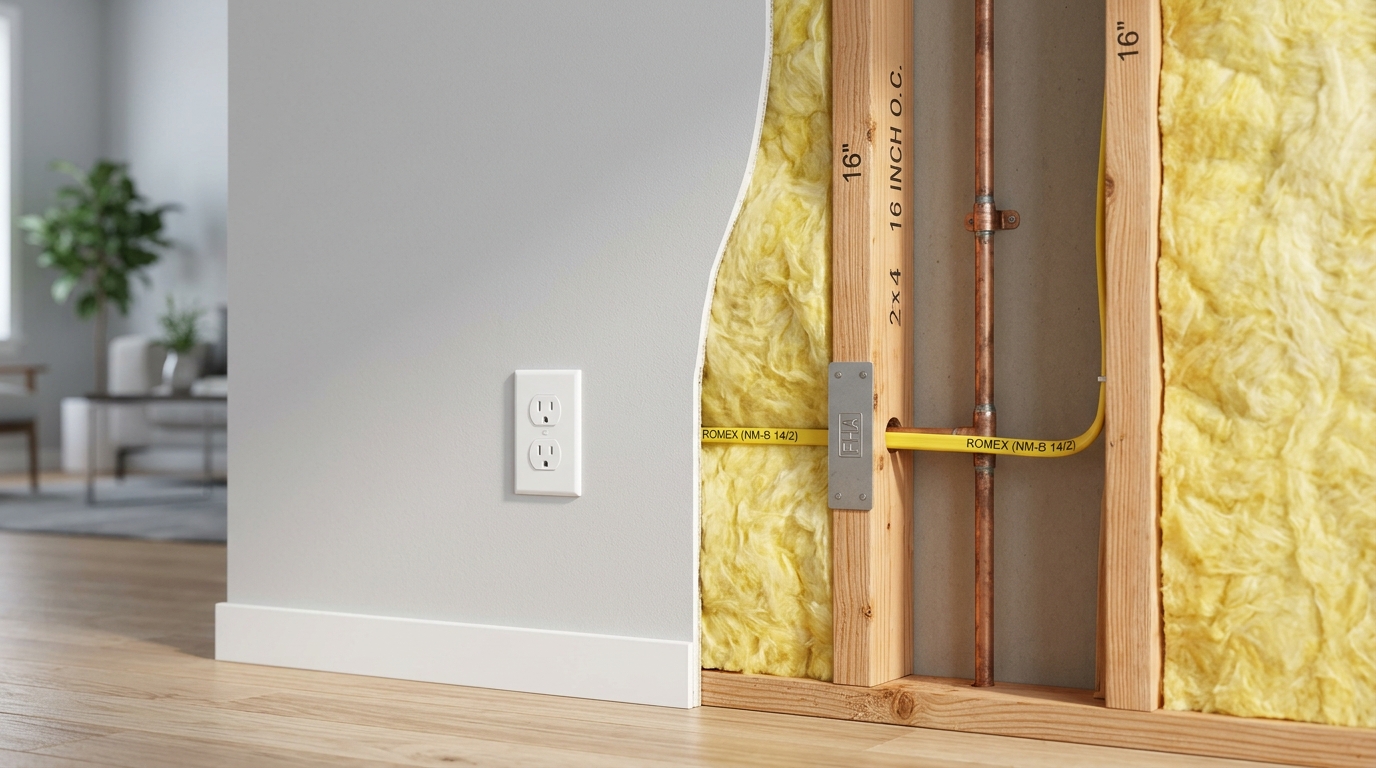
Wall Stud Finder Types & Sensor Science
Dielectric capacitance, electromagnetic induction, ultra-wideband radar, and rare-earth magnetic physics explained.
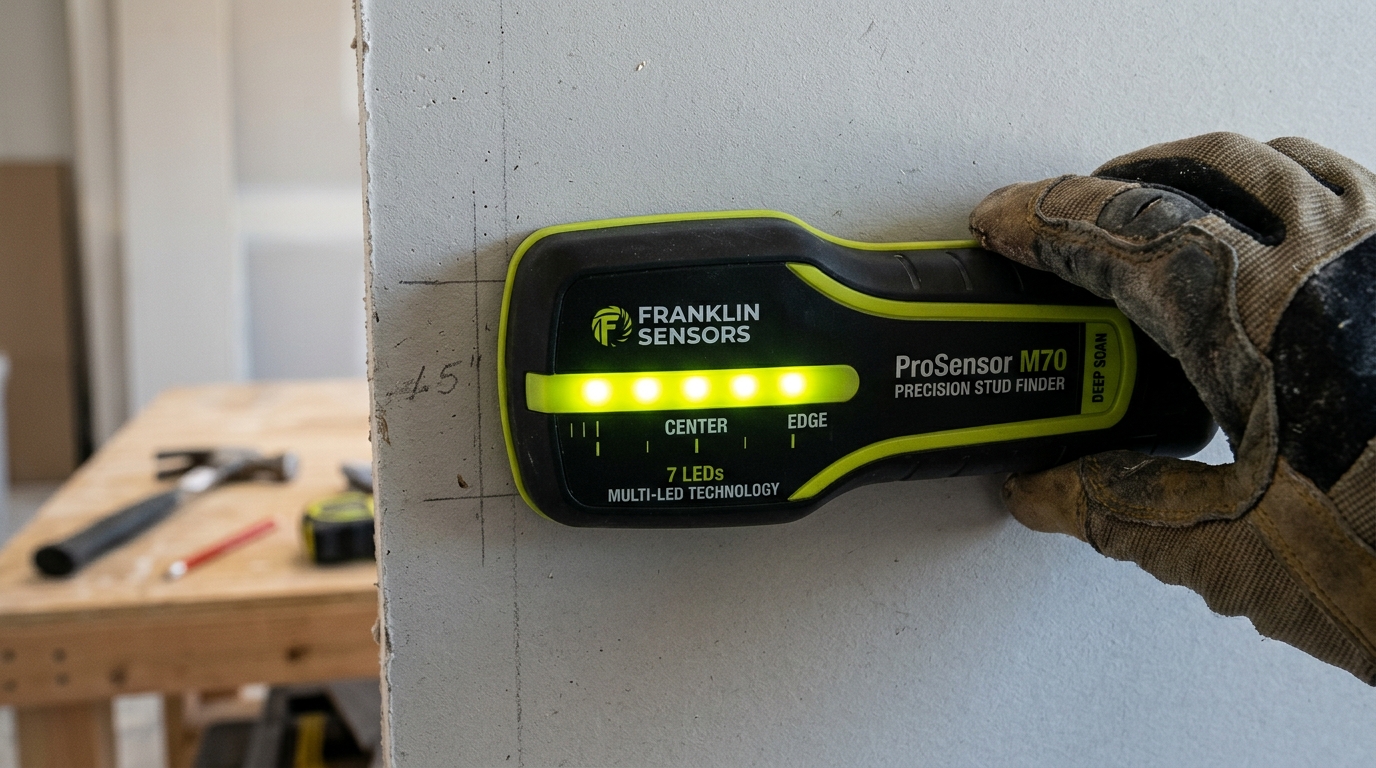
Franklin Sensors: ProSensor 710+ & M150
13 simultaneous LEDs show the entire 1.5" stud width instantly with zero calibration needed. Detects double studs.
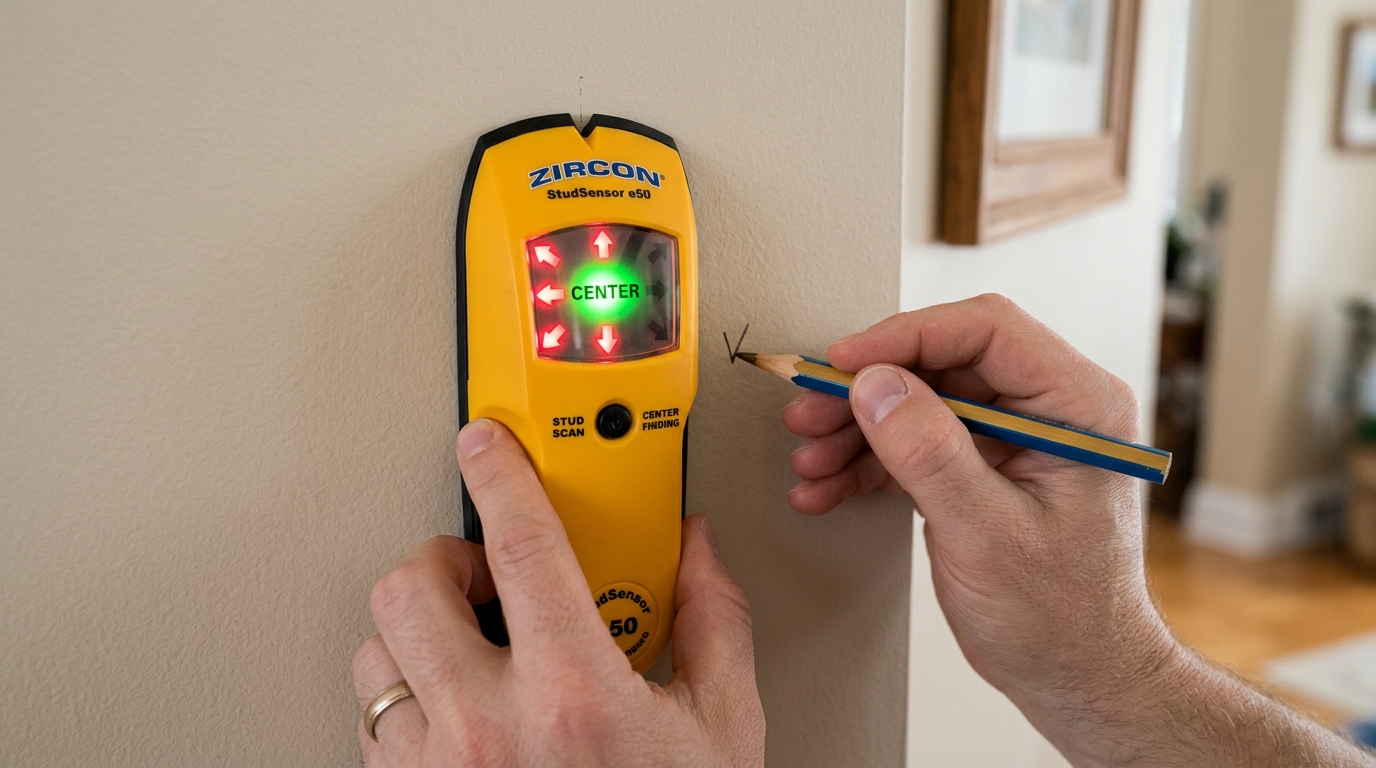
Zircon Stud Finder Guide: MultiScanner A250
CenterVision target spotlight, WireWarning live 120V alert, deep scan modes, and fixing continuous beep calibration errors.
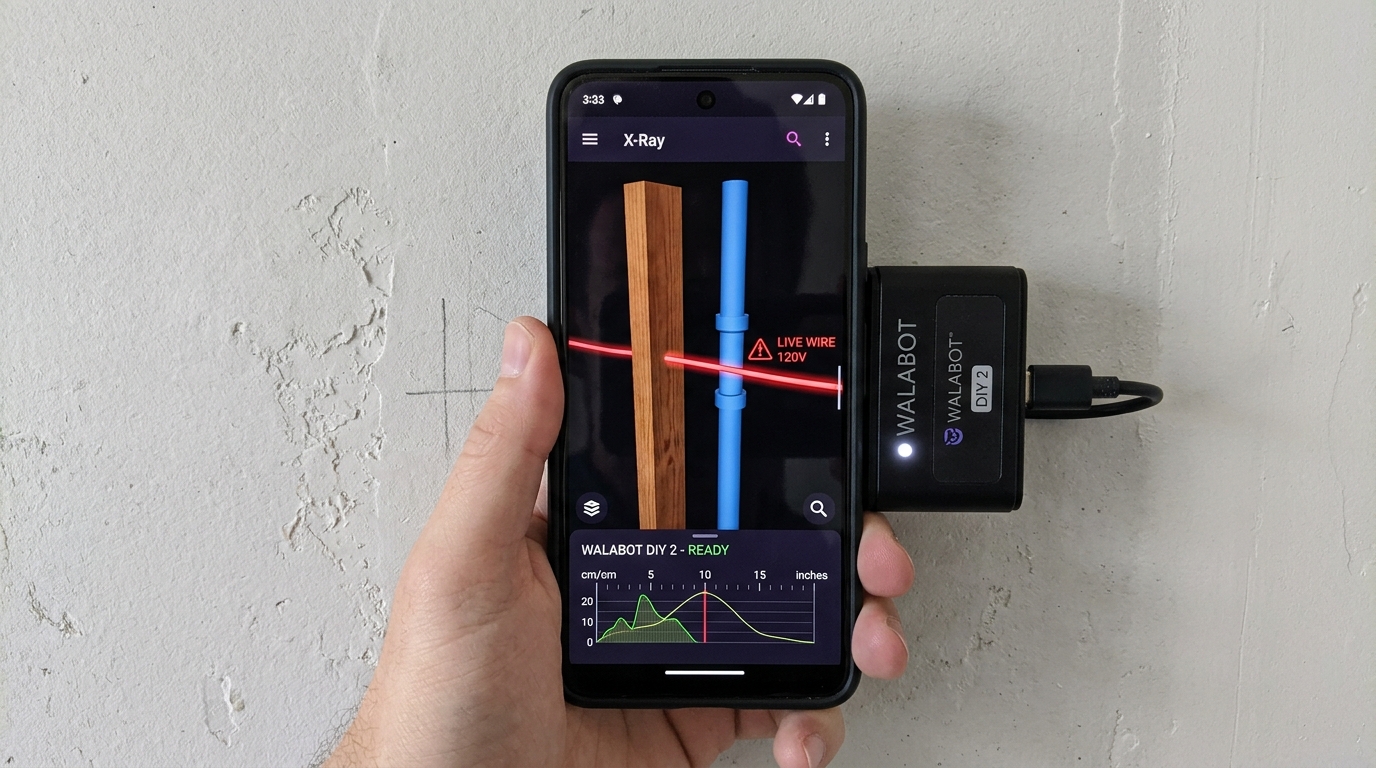
Walabot DIY 2 3D Radar Scanner Guide
X-ray smartphone scanning up to 4" deep. Differentiates wood studs from PVC plumbing, metal conduits, and live wires.
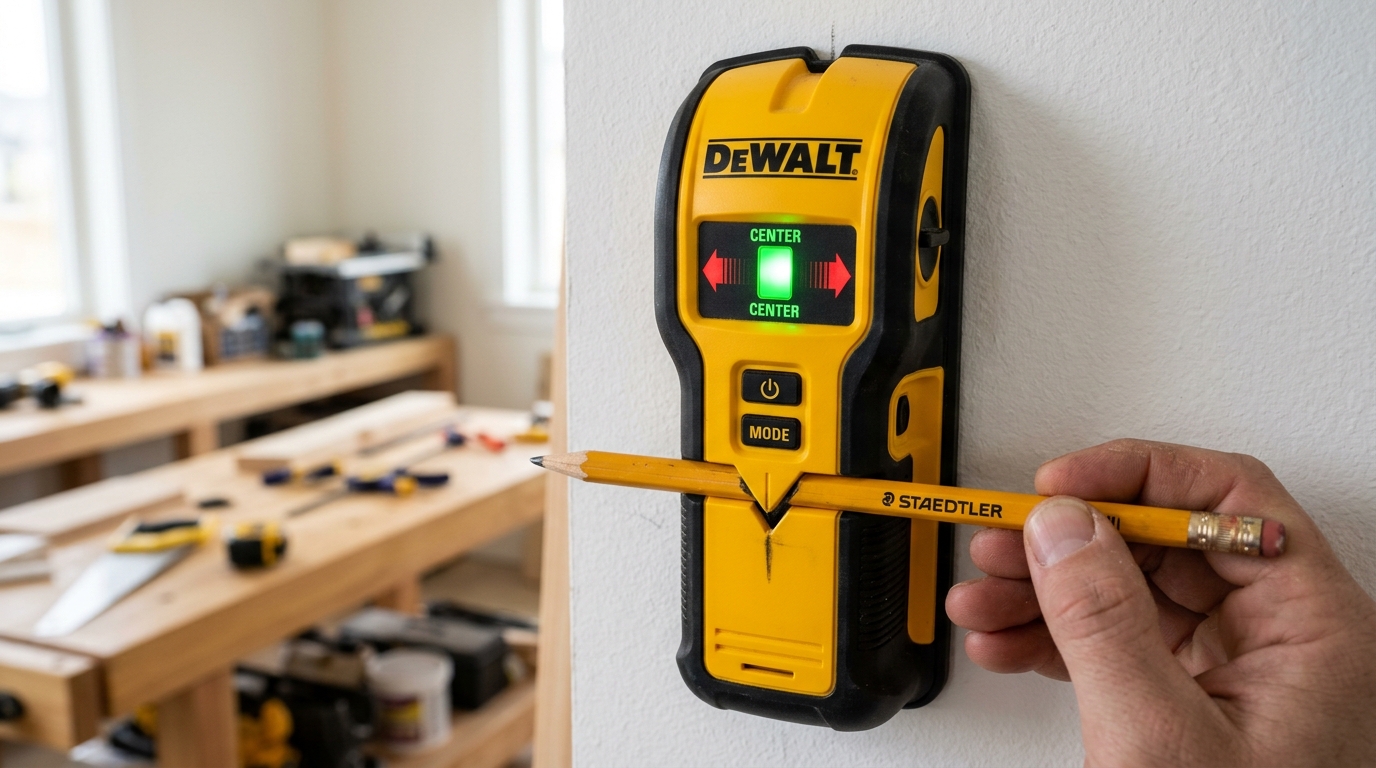
DeWalt Stud Finders: DW0150 & DW0100
Rugged jobsite design, through-body pencil marking channel, directional LED guidance arrows, and auto-calibration.
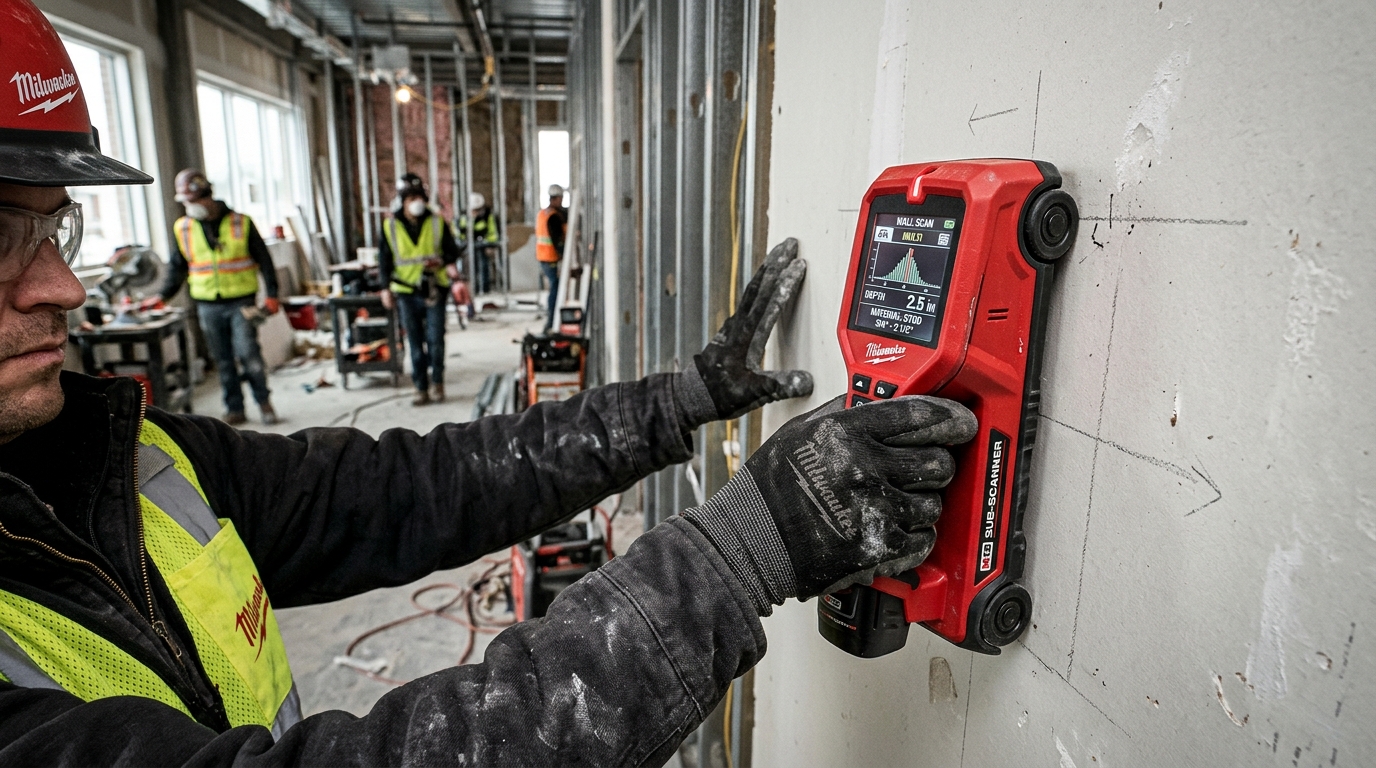
Milwaukee M12 Sub-Scanner Guide
Scans through drywall, concrete, masonry, and bathroom tile up to 3 inches deep on the M12 REDLITHIUM platform.
Home Depot Stud Finders: Best In-Store Picks
Top in-stock models at Home Depot: Franklin ProSensor, Zircon CenterVision, DeWalt, and returning defective units.
Lowe's Stud Finders: Brands & In-Store Guide
Compare Craftsman, Zircon, and Bosch inventory in Lowe's tool aisles with pricing and warranty breakdowns.
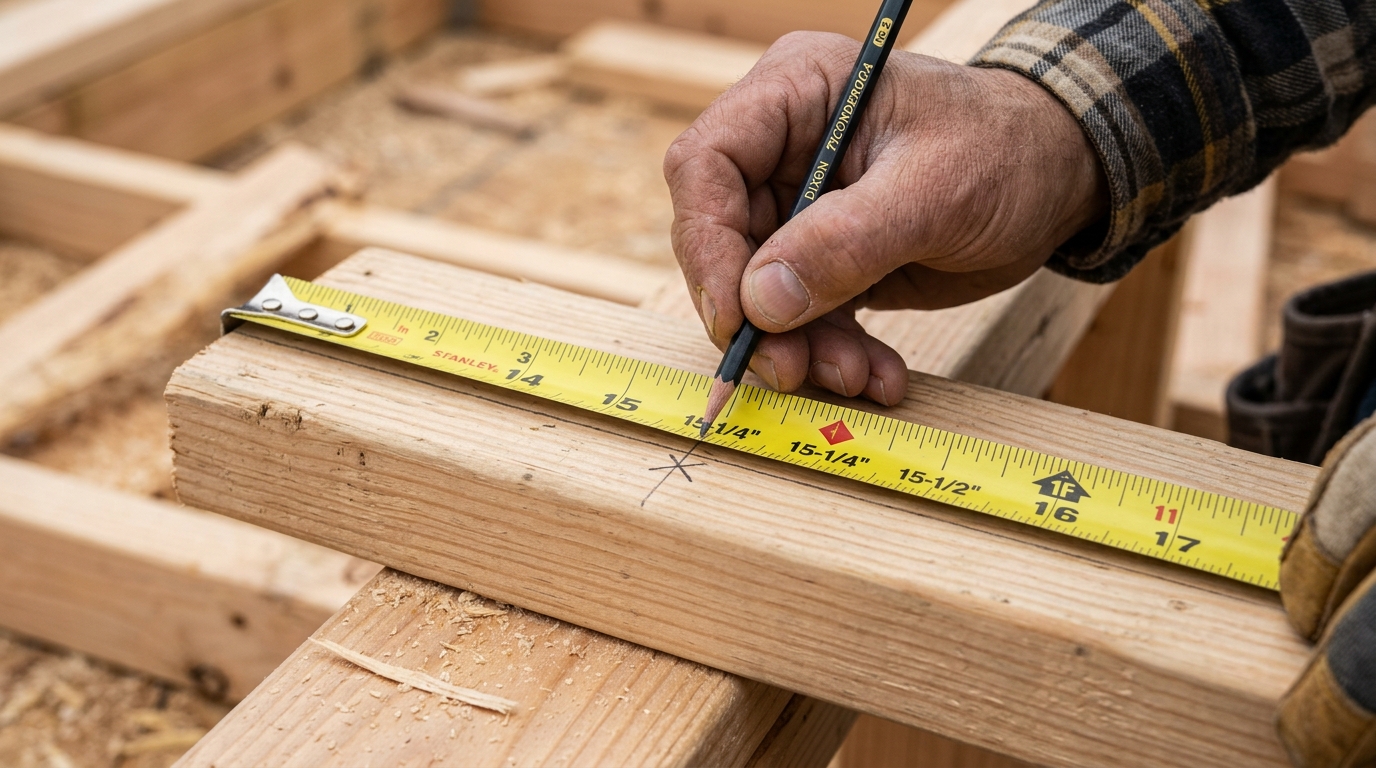
Stud Spacing: 16" vs 24" On-Center Rules
Standard 16" and 24" on-center spacing rules, measuring from room corners, and calculating the 15-1/4" offset stud.
How to Find Studs Without a Stud Finder
5 foolproof manual methods: electrical outlet boxes, baseboard nail holes, knuckle tap acoustic resonance, and magnet tricks.
Avoiding Hidden Hazards: Wires, Plumbing & Safety Plates
1. The 1-1/4" Fastener Clearance Rule (NEC 300.4): National Electrical Code mandates that all electrical cables and plumbing pipes bored through wood framing maintain at least 1-1/4 inches of clearance from the outer stud face. When cables or pipes run closer than 1-1/4", a 1/16-inch thick steel nail protection plate must be installed. If your drill encounters impenetrable metal resistance, stop immediately—never force a screw through a nail safety plate!
2. The Vertical Verification Rule: Wood studs run continuous and true from the sole plate to the ceiling top plate. If your stud finder detects an object, scan 12 inches directly above and 12 inches below. If the detection disappears, you are likely scanning a horizontal vent pipe, plumbing drain, gas pipe, or electrical branch conduit.
3. The 3/4" Centerline Fastener Target: Standard 2x4 studs measure 1.5 inches wide. Lag bolts and heavy anchors must land within the central 3/4 inch (0.75"). Driving screws into the outer 3/8" edge splits the wood grain and reduces pull-out withdrawal resistance by over 70%, creating catastrophic mounting failure hazards for heavy TVs and wall cabinets.
Frequently Asked Questions
Quick, authoritative answers to common wood framing, building code, and stud spacing questions.